
A Blog in Can Do works from a Basecamp Message Board: you write and edit messages there, in the tool your team already uses every day, and Can Do automatically publishes them as blog posts on the internet.
To create one:
- From the Can Do home page, go to the CMS tab and click Create. In the dropdown menu, select Blog. There you can see everything you've published so far (blogs, knowledge bases, roadmaps).
- Click Create to open the dropdown menu, and select Blog.
- You'll go to the creation screen, with two steps:
- Find your project: Search for the Basecamp project where you want your blog to be hosted.
- Select a Message Board: Choose the Message Board from that project. Each message you write there will automatically become a post.
- Click Create blog.
What if there's no Message Board in my project?:
If the project doesn't have a Message Board yet, Can Do will give you the option to create one right there.
- When you go to step 2 Select the Message Board tool type a name for your Message Board and click Create. It will be created directly in your Basecamp project without having to leave Can Do.
Just create the Blog, and you go straight to the settings page. You don't need to go back to CMS to confirm it was created.
What happens next is automatic. Can Do starts bringing your existing messages to your Blog. You'll see a progress bar that says "Building your blog". While that finishes (usually a minute or two), you can go ahead and complete your blog profile:
Add a cover photo
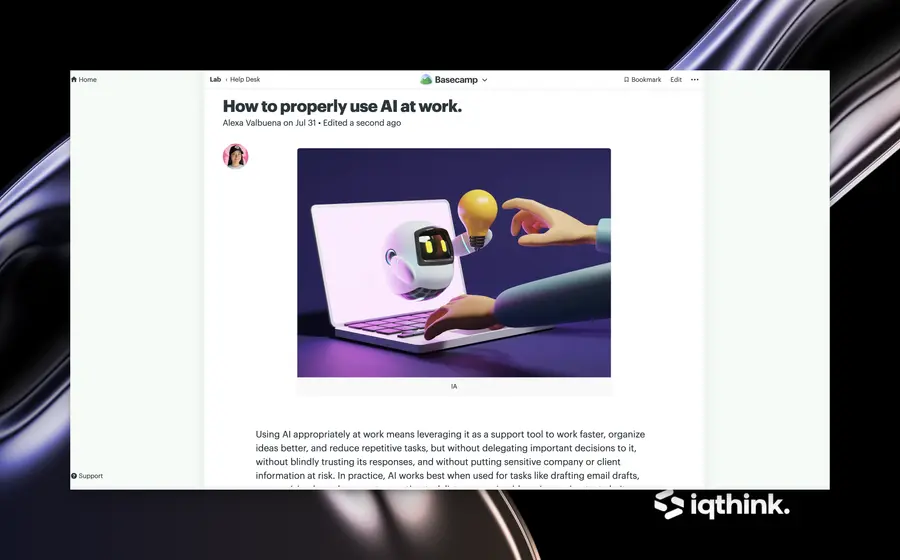
In a Blog, you can add a cover photo. The cover for each entry in your Blog is automatically taken from the first image in your Message in Basecamp. You don't need to upload it anywhere else.
For an entry to have a cover:
Put an image as the first thing in the message, before any text. That image will be used as the cover and will be displayed:
If the message starts with text (without an image at the beginning), your Blog won't have a cover and will display with text only. It's completely valid and doesn't interfere with anything in your post!
When you add the image in the Basecamp Message, you'll see it as the first image. When you publish your Blog, you'll see it as the second image. 👇️
In Basecamp:
In your published Blog
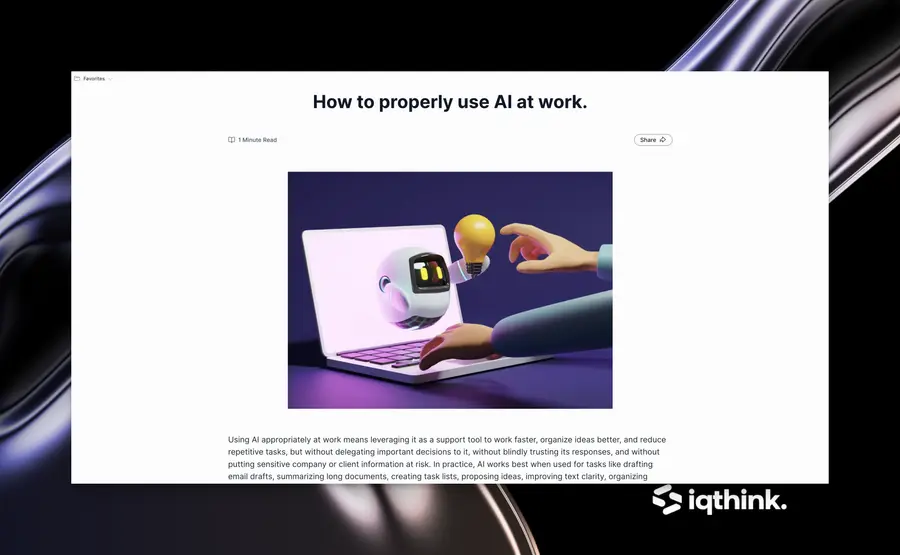
Note: Images you place in the middle of the text don't count as a cover, only the first one. If you want to change the cover image, add another image at the beginning of the message and you're done.
Complete Your Blog Profile
This information is not required to publish your Blog, but completing it gives it its own identity and helps it be found better in search engines like Google.
- Icon & Name: Add an image and write the name of your Blog, it's the first thing anyone reading it will see, and what appears if someone shares your link on social media. The first name is how it appears when you create it, if you want to change it just click on the field.
- Author: Write the name of the person who signs the Blog, this gives a more human face to what you publish, and helps search engines like Google know who is behind each post.
- Description: Write a short summary of what your Blog is about (maximum 175 characters), it's the text that Google displays below the title when your Blog appears in a search.
Once Can Do finishes bringing all your messages, the Blog publishes automatically and you'll receive an email with the link. You'll also be able to copy it from the Preview URL section on the same page.
If you want to add a password or a custom domain, you can configure it right away or later from the same page. Check out the articles on Protect Your Blog with a Password and Using a custom domain with your Blog.